So you’re looking to export Saved Searches from NetSuite to Google Sheets. Luckily, GURUS Solutions developed an add-on that allows you to automate the process of going from NetSuite to Google Sheets. Even more, you can get started free with a limited trial.
Today we’re running you through how to install the add-on.
Table of Contents:
- How to Install the GURUS NetSuite Data Exporter
- Registering the NetSuite Data Exporter
- Installing the SuiteApp
- Configuring Access for the GURUS NetSuite Data Exporter
- Activating and viewing your License
- Frequently Asked Questions During Installation
- Configuring NetSuite Embed Dashboard (Premium Edition)
Get Help With The Installation
How to Install the GURUS NetSuite Data Exporter
Follow the steps below to Install the Google Sheet Add-on for the NetSuite data Exporter. These steps are usually done for each User on your Google Workspace that wants to use the software. It can also be done by your Google Administrator to be done across the whole Workspace.
- Open a Google Sheet in your Workspace.
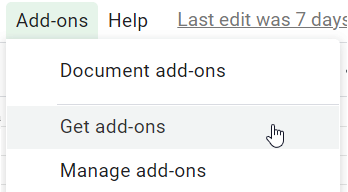
- Navigate to Add-ons -> Get add-ons
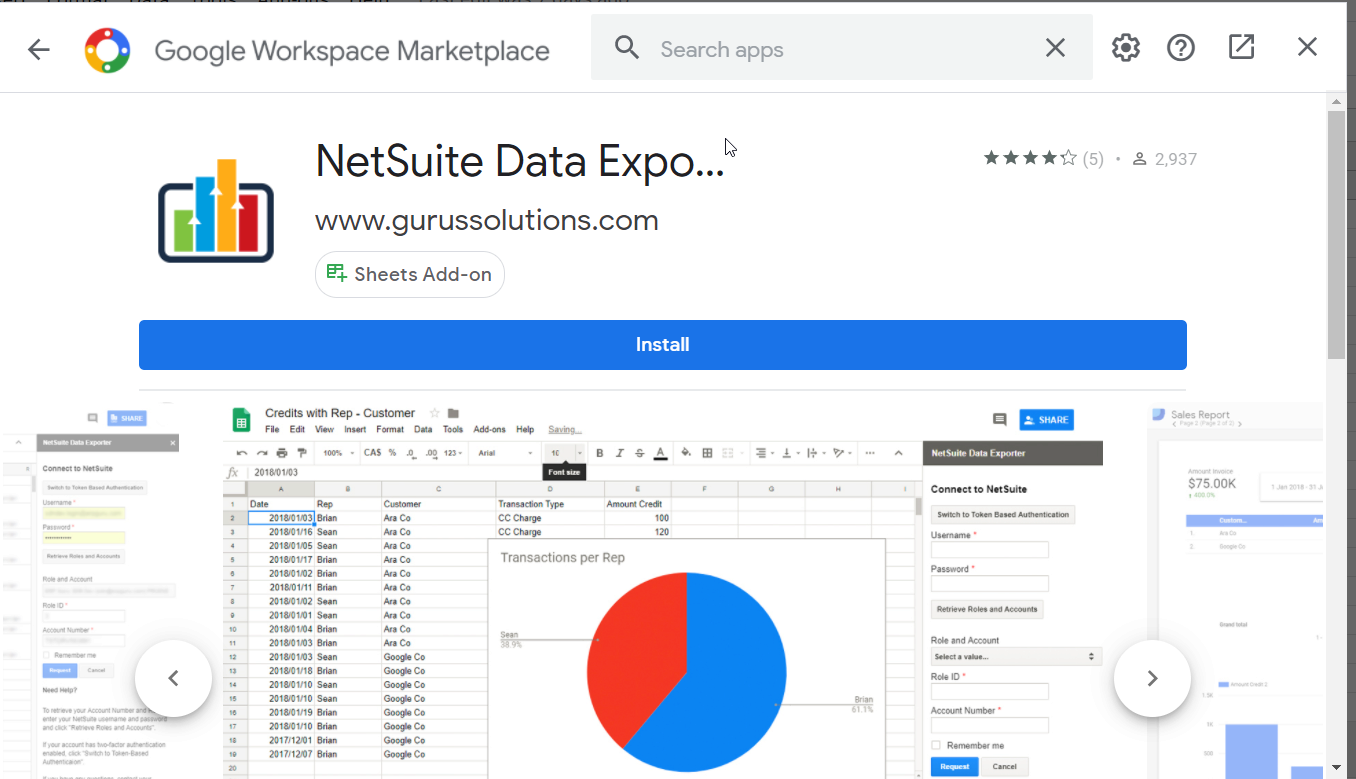
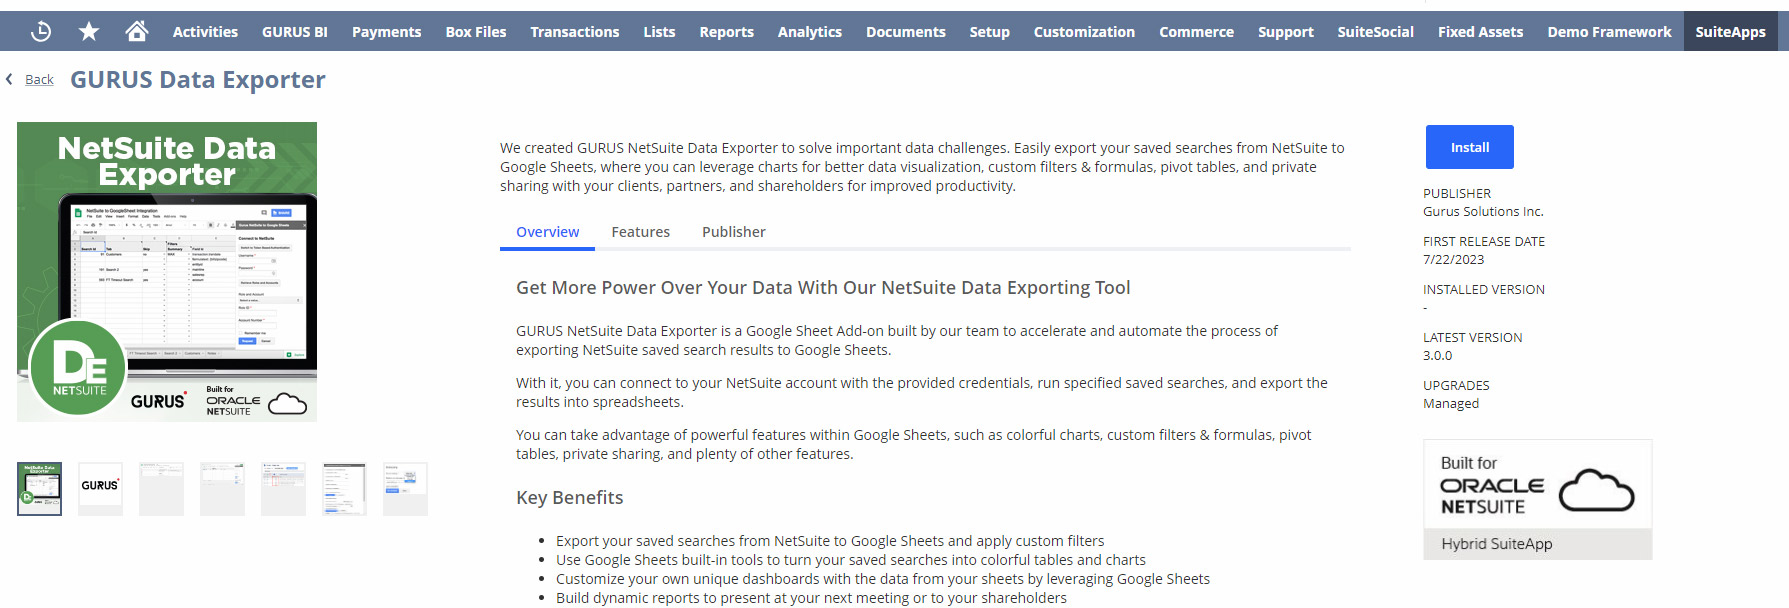
- Search for the "NetSuite Data Exporter" in the search bar and select the listing. Make sure you select the one with the GURUS logo.

- Click the Install button on the top of the page to install it.
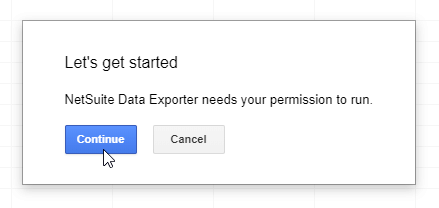
- Once installed, click Continue on the pop up screen.
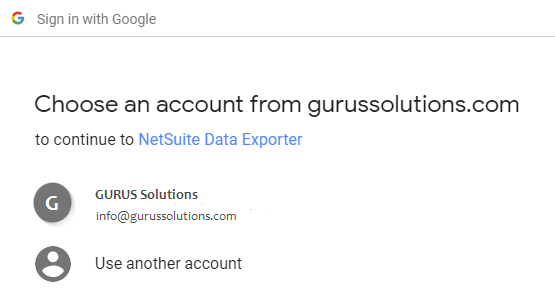
- Sign in with your Google account
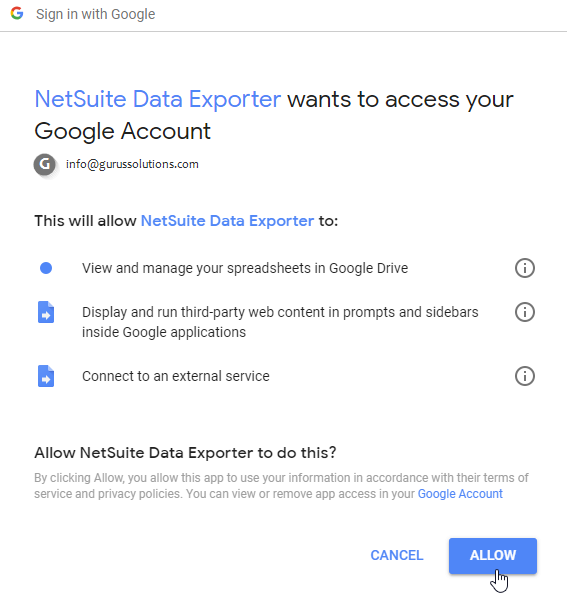
- Click Allow to grant the permissions required by the add-on.
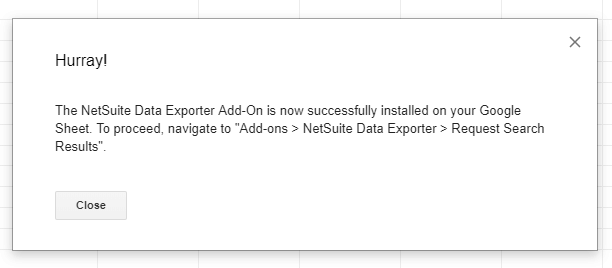
- The add-on is installed.
Registering the NetSuite Data Exporter
The following step needs to be done only once per NetSuite Account. The Application must be registered with GURUS Solutions so it can be activated and the NetSuite Suitebundle to be shared with your account. To do so, please complete the following steps:
- Navigate to our website at the following address: https://gurussolutions.com/solutions/data-toolkit/netsuite-data-exporter/
- Review and agree to our Privacy Policy as well as the End User License Agreement
- Locate your NetSuite Account Number. (SuiteAnwser: 65470) You will need it to fill the registration.
You can find your NetSuite account ID at the beginning of the NetSuite URL. For example, if the URL is https://1234567.app.netsuite.com/, your account ID is 1234567.
Note: Please mention in the comments if you also want to get access for your sandbox account.
- Fill out the form and Submit it.

5. Please wait for us to confirm your registration.
Installing the SuiteApp
Once your registration is completed and confirmed by your GURUS Representative, you can proceed to the installation of the SuiteApp in NetSuite. You will need to follow this step only once per NetSuite Account.
This step must be performed by your NetSuite Administrator or anyone with suffisant permission to install a SuiteApp. The goal is to find the following SuiteApp in your NetSuite instance: https://www.suiteapp.com/GURUS-Data-Exporter
- Log in into your NetSuite account as an administrator
- Navigate to SuiteApps
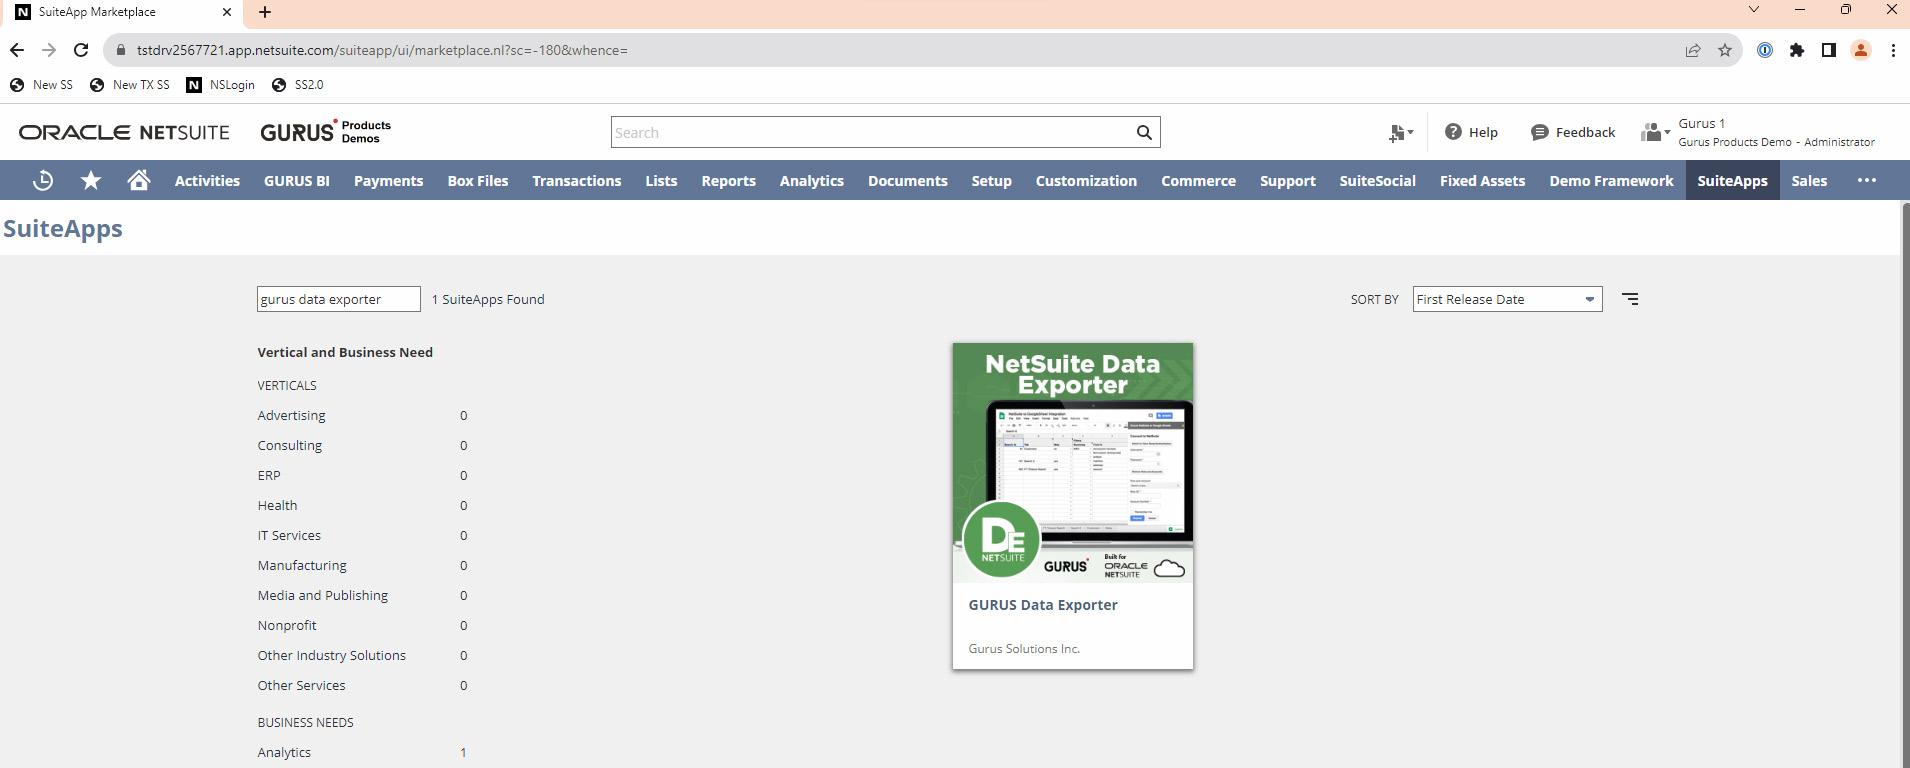
- In the keywords field type in GURUS Data Exporter
- Click on the application
- Click on the Install button
- Read and accept the the permissions required

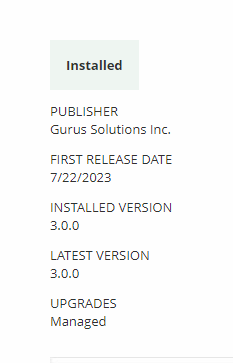
- Wait for the SuiteApp to be installed. Once installed you should see the following when going on the listing of the GURUS Data Exporter where the “Install” button will now be in a different color and say “Installed” along with the version that your NetSuite instance now has.
- At this step, you may receive an error during the installation indicating some NetSuite features are required to continue with the SuiteApp Installation. The message will indicate what features you are missing. You will be able to find those features under Setup -> Company -> Enable Features.
Configuring Access
This section will describe the steps required to generate credentials that are required to use the Data Exporter.
You may need to get the assistance of your NetSuite Administrator to perform the following steps.
Some of these steps will need to be done at least once per instance, and some of these steps will need to be done at least once per user you want to give access to the Data Exporter.
Configure an Integration Application
This step needs to be done only once for the whole instance. You may require your NetSuite Administrator to perform these tasks.
Refer to the following SuiteAnswers article on how to create an Integration Application for Token Based Authentication: https://netsuite.custhelp.com/app/answers/detail/a_id/82077/
-
Log into NetSuite as Administrator (or with a role with Permission to create an Integration Application)
-
Navigate to Setup -> Integration -> Manage Integrations -> New
-
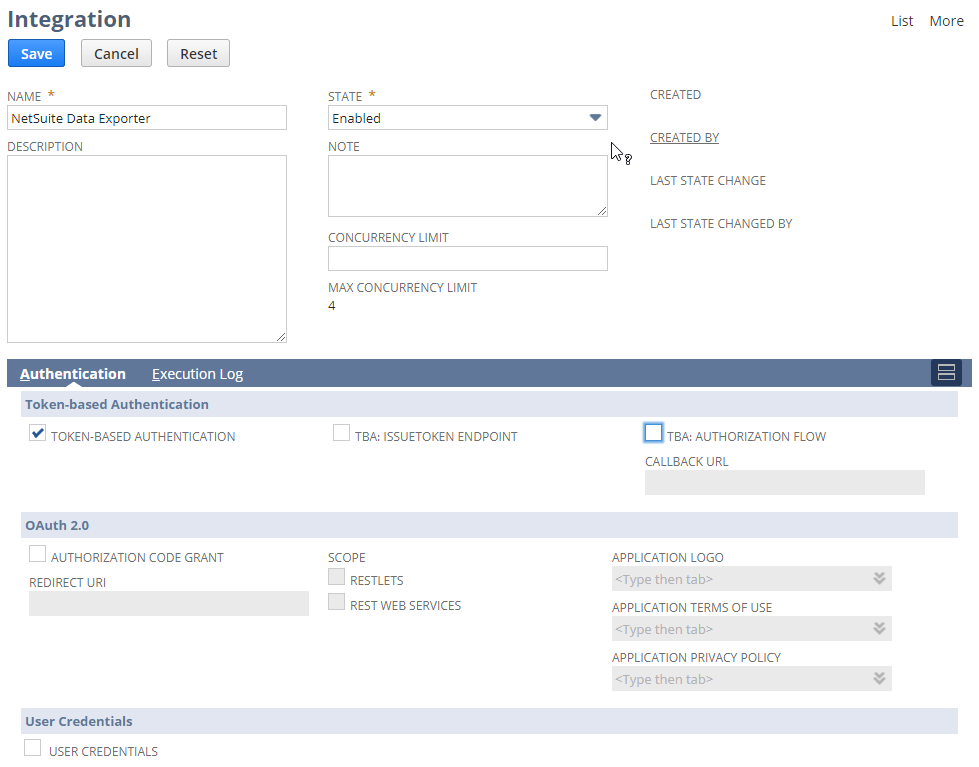
Give a name to the integration (ex: NetSuite Data Exporter).
-
Set the status to Enabled.
-
Check the box for Token-Based Authentication
-
Uncheck every other checkbox.
-
Save the Record
-
Right after the page is saved, navigate to the bottom of the page and take note of the Consumer Key/Client ID and Consumer Secret/Client Secret.
-
Keep these credentials securely. They will be required for all your users that will use the Data Exporter.
IMPORTANT: It is the only time you can take note of those credentials, they will not be displayed again.
ALSO IMPORTANT: Manipulate these credentials with the same care you would for your username and passwords. It is recommended that you do not save them in plain text, nor send them over email. Make sure they are shared securely.

Configuring a NetSuite Role
This step needs to be done at least once for the whole instance. You may want to create different roles depending on which user extracts data through the Data Exporter. You may require your NetSuite Administrator to perform these tasks.
We strongly recommend that you prepare a role that is read only and only provide access to the records and data that your user needs. We will leave to your discretion to decide the exact set of permissions to set.
Refer to the following article to understand how to create a NetSuite Role:
- https://netsuite.custhelp.com/app/answers/detail/a_id/9896
- https://netsuite.custhelp.com/app/answers/detail/a_id/9921
- https://netsuite.custhelp.com/app/answers/detail/a_id/82075
Make sure your role contain the following permission:
- Setup -> Log in Using Access Token
Assign this role to any users for which you will give access to the NetSuite Data Exporter on their Employee Record.
Configure an Access Token
This step needs to be done for each user that will have access to the NetSuite Data Exporter.
You can share tokens across multiple Google User, but keep in mind they will have access based on the context of the user and role attached to the Token.
An Access Token is a set of credentials combining a specific user and a specific Role. For information on how to create an access token, please refer to the following SuiteAnswers article :
https://netsuite.custhelp.com/app/answers/detail/a_id/82313/
- Log in as a user with the Access Token Management permission (This can be your Administrator).
- Go to Setup > Users/Roles > User Management > Access Tokens (Administrator).
- On the Access Tokens page, click New Access Token.
The Access token page displays.
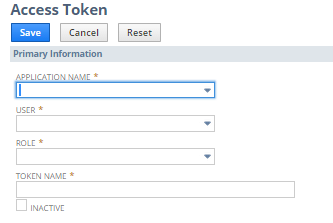
- On the Access Token page:
- Select the Application created in “Configure an Integration Application”.
- Select the User you gave the role as defined in “Configuring a NetSuite Role”.
- Select the Role created in “Configuring a NetSuite Role”.
- The Token Name is already populated by default with a concatenation of Application Name, User, and Role. Enter your own name for this token, if desired.
- Click Save.
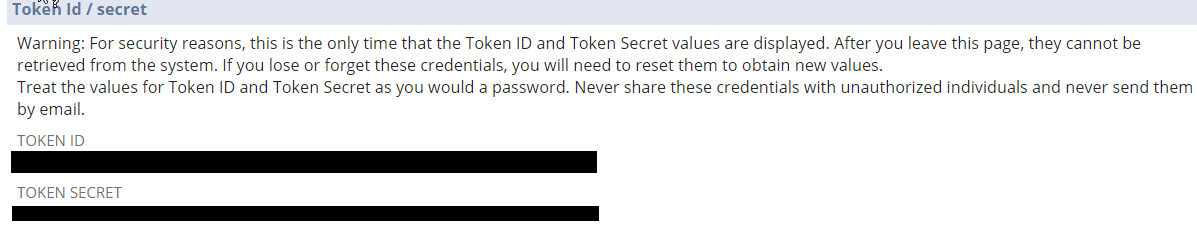
- Right after the page is saved, navigate to the bottom of the page and take note of the Token ID and Token Secret.
- Keep these credentials securely. They will be needed to be set in the Data Exporter for the selected user.
IMPORTANT: It is the only time you can take note of those credentials, they will not be displayed again.
ALSO IMPORTANT: Manipulate these credentials with the same care you would for your username and passwords. It is recommended that you do not save them in plain text, nor send them over email. Make sure they are shared securely.
Activating and viewing your License
You can activate and manage your product license through a simple screen.
-
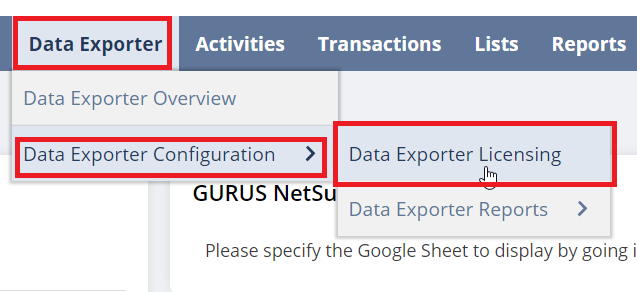
Locate the “Data Exporter” center tab and navigate to “Data Exporter > Data Exporter Configuration > Data Exporter Licensing
-
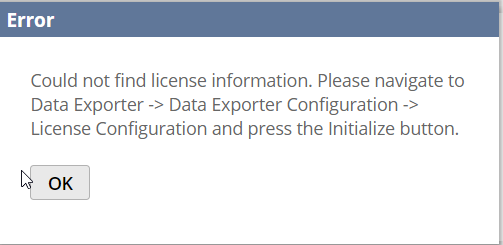
If this is your first time using GURUS NetSuite Data Exporter tool, you will be greeted by the following message:
-
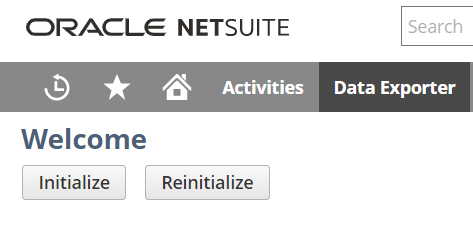
Press the initialize button
-
The page will fetch your license if you have one and display it like in the following example:
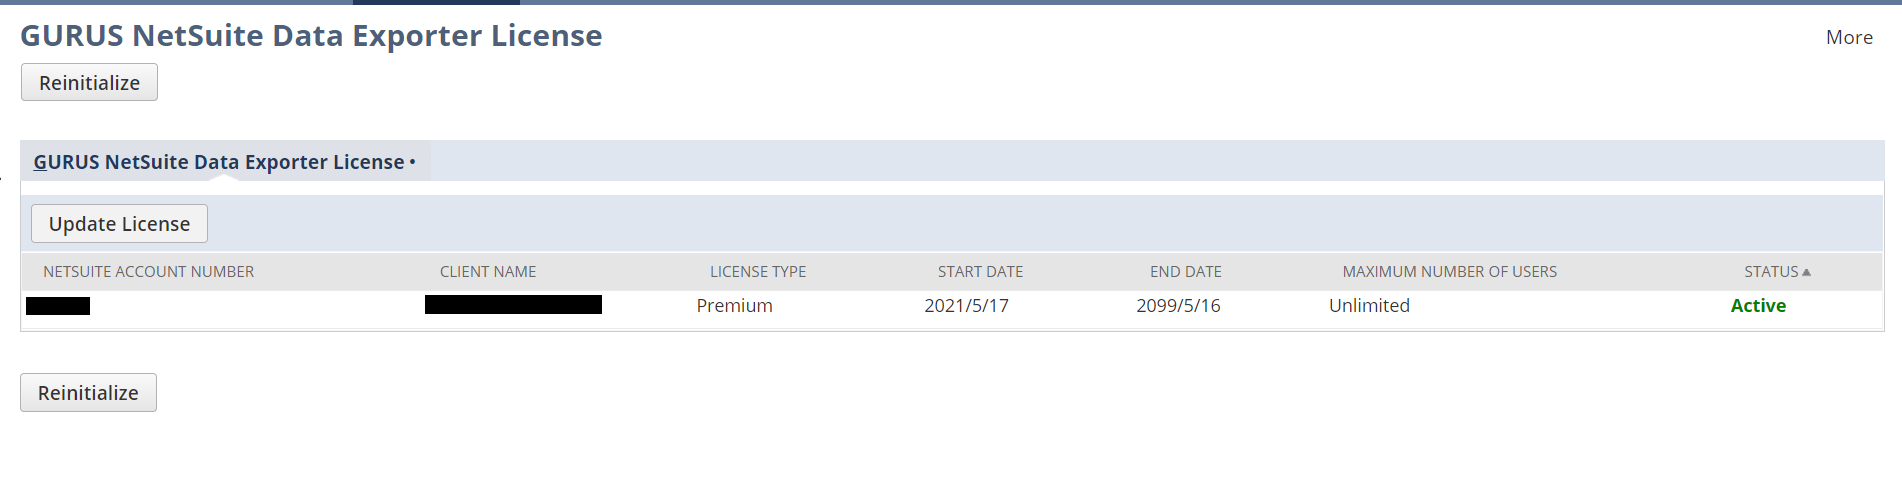
-
If you need to update your license, simply press the “Update License” button.
-
You can also click the Reinitialize button to force a reset of the license in case you get errors and start again at Step 1.
Frequently Asked Questions During Installation
Q: The Install button is greyed out and I get this message when trying to install the SuiteApp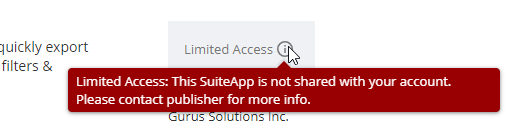
What can I do?
A: This can mean the following:
- You have not completed the registration with GURUS solutions. Please follow the instructions in section 3 of this document.
- The provisioning is not yet completed by the GURUS team. You can wait and try again later, or contact your representative to get a status on the progress.
Q: I received a message indicating that the app is not available in my country when installing the Data Exporter Add-on
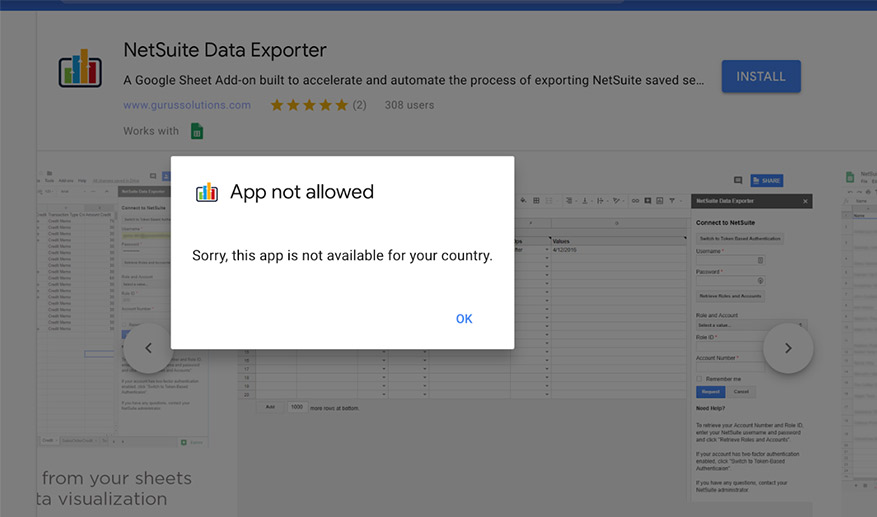
A: The Data Exporter is currently available in most countries, but some limitations may apply. Please contact info@gurussolutions.com for more information if you received this error.
Q: I get the following error message. Why?
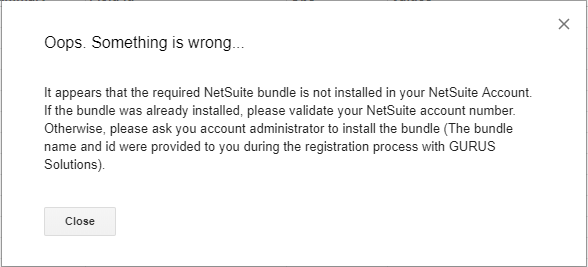
A: This can mean the following things:
- The required SuiteApp has not been installed in the NetSuite instance. See section 4 in the Installation Guide for guidance.
- If you are trying to run the Data Exporter with your Sandbox, it could mean the SuiteApp is not installed in the sandbox account. Please follow the instructions in section 4 on your Sandbox account.
- If you cannot install the bundle (you cannot find it or the Install button is not enabled or get the error message below), please contact GURUS Solution and ask that the bundle be shared with you. Make sure you have your NetSuite Account number as it will be necessary for this step.
Q: I receive the following error message when I try to run the Data Exporter. What does it mean?
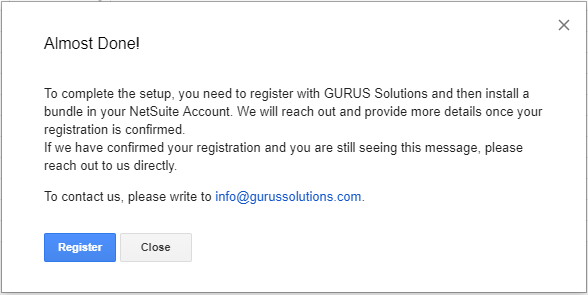
A: This can mean the following:
- You have not completed the registration with GURUS solutions. Please follow the instructions in section 3 of this document.
- The provisioning is not yet completed by the GURUS team. You can wait and try again later, or contact your representative to get a status on the progress.
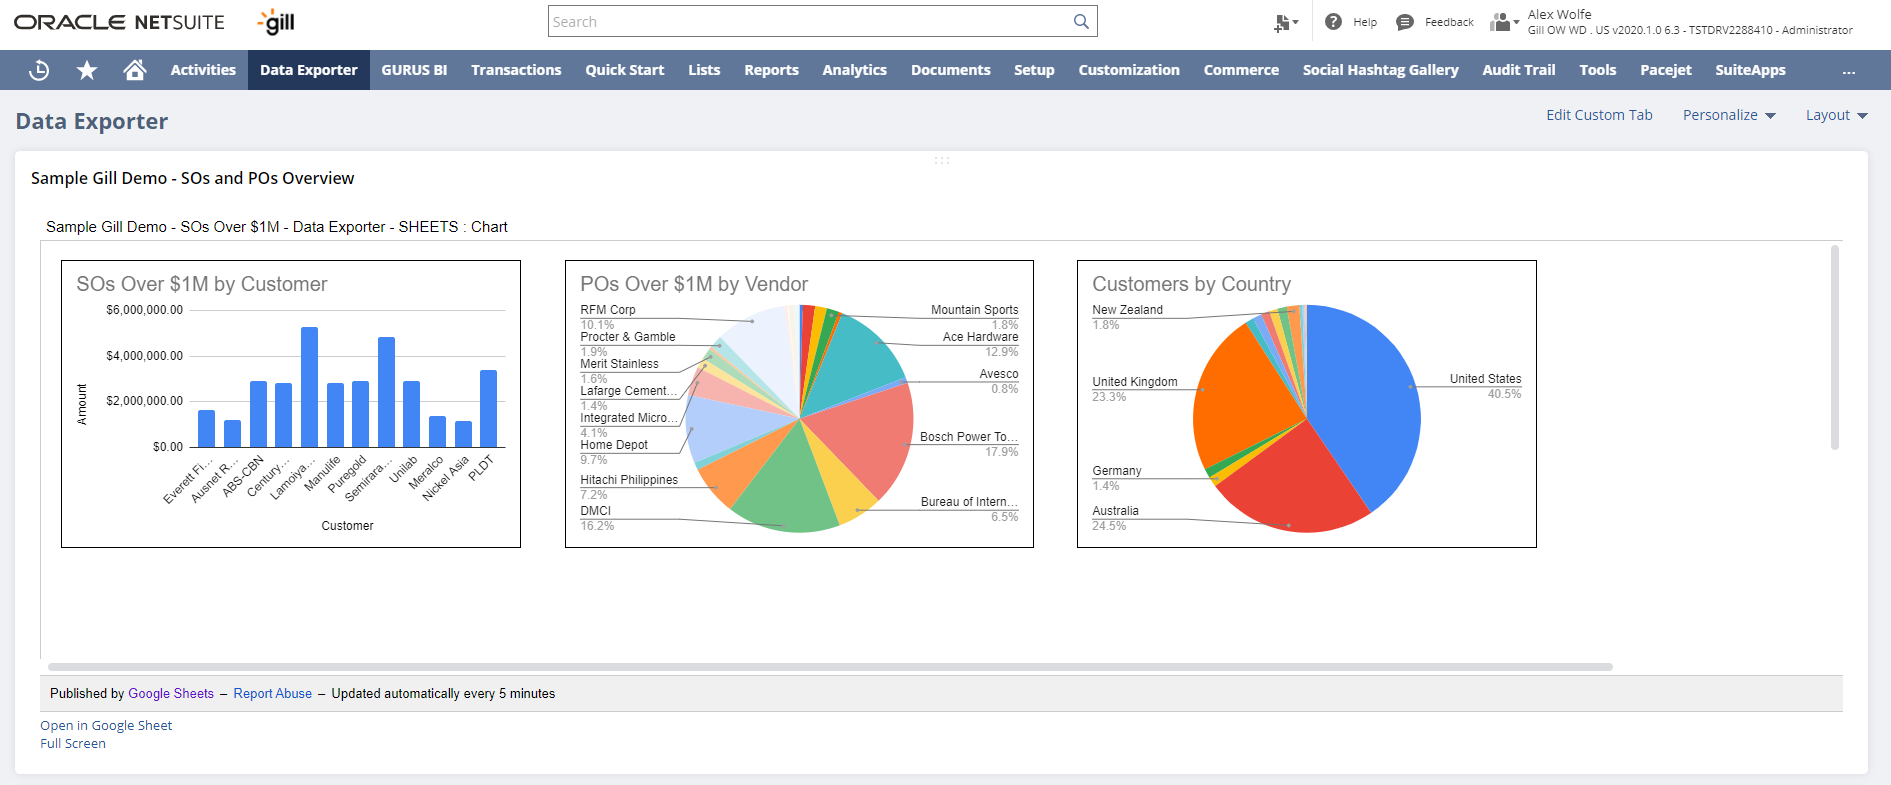
Configuring NetSuite Embed Dashboard
With the Premium Edition of Data Exporter, users can embed their spreadsheets back into a NetSuite dashboard. Using the standard NetSuite “Personalize” functionality, spreadsheets can be displayed as a custom portlets for easy consumption. Moreover, Google Sheet hyperlinks will be available via the portlet to easily access the source data.
For a step-by-step guide in configuring an embed dashboard, please refer to the embed dashboard installation guide.
Get Help With The Installation